
For the past few weeks (months? Oy), most of my van attention (when not doing general reading and research) has been on the floor. Yeah, some of it has been on the roof rack, which I discovered really should have been put together with stainless steel bolts and nuts. Turns out, rain can get the rack and its hardware all wet. Then the hardware might rust, if you can imagine that. So I’ll need to order new hardware and spend a few hours replacing it all. Whee!
Floor, yes, the floor. From the factory, the van’s floor is fairly thick sheet metal. And it’s filled with many small peaks and valleys, poking above or below the main floor height by about a half-inch. This makes the floor much stronger and less likely to bow than if it were flat. We build our camper’s floor (quite flat) on top of it. From the postings on the forums, it seems most builders like to fill all these valleys with insulation, both thermal and acoustic. Others like to leave them unfilled, to provide some air circulation.
On top of that, some people like to put a thin layer of closed-cell foam, like Minicell, as a moisture barrier and for more acoustic deadening.
Over that layer comes (usually) the main layer of insulation, either:
• XPS (expanded polystyrene, aka Styrofoam),
• XPI (expanded poly-isocyanurate, somewhat higher-tech Styrofoam),
• wool batting (really),
• Thinsulate (same as in gloves and jackets, just thicker),
• or nothing at all (in temperate climes, not much heat is gained or lost through the floor)
The next layer is usually a sub-floor of half-inch plywood, most often Baltic birch or marine-grade. And finally, the layer that people will actually stand on. This can be just about any flooring material one would use in a home or office. There’s much leeway since it probably doesn’t extend under the cabinetry or bed or shower or anyplace else that people don’t walk. This means that very little is needed, so if it’s heavy material, not a such a big deal.
From the possibilities to the actuals: I’ve decided to let the van breathe, and leave the valleys open. I may go in later and put a layer of acoustic insulation in them, but it won’t fill the valleys, just coat their bottoms. That’s step one.
We’re skipping the Minicell layer. Seems to me like all of its functions can be handled by the other layers.
For the main layer of insulation, we’re going with 1.5 inches of Thermax. This is an XPI, with a little fiberglass mixed in, and coated on both sides with aluminum foil. From what I’ve read, it has the best thermal properties, and is fairly easy to work with. The biggest problem is that it’s not a consumer item, and is rather difficult to track down. After several weeks of searching, I found a lumber yard in Ypsilanti that was able to order it specially.
For the sub-floor, I decided on half-inch Okoume plywood. This is very high-quality, marine-grade plywood. The closest place to get it is Charlotte, Michigan. It’s really pretty, which is not an adjective very often applied to plywood.
In order for the sub-floor to fit properly, the underlying insulation really should be in place first, as the profile of the sheet metal floor is slightly different from the profile of 1.5 inches above it. So before I knew just how I’d acquire the Thermax, I decided to make a trial run out of cheap XPS sheets ($15 at Lowe’s). I just won’t permanently affix it, as I will the final insulation, and then I’ll be able to replace the XPS with the Thermax I eventually find. As a bonus, I’ll be able to use the XPS pieces as a template when cutting the Thermax to fit the van.
The incisive amongst you may now be wondering how I cut the XPS in the first place: what did I use for a template then? Good question. Cardboard! To make a template, I first took a bunch of opened-and-flattened cardboard boxes, and cut and arranged and taped the pieces to cover the floor more or less precisely. Then I took up that template, and transferred its shape to new 4’x8’ sheets of pristine cardboard, to make a template I could move around and would not catch and fall apart on all the tape and seams. Then I used that new template to cut out the XPS insulation.
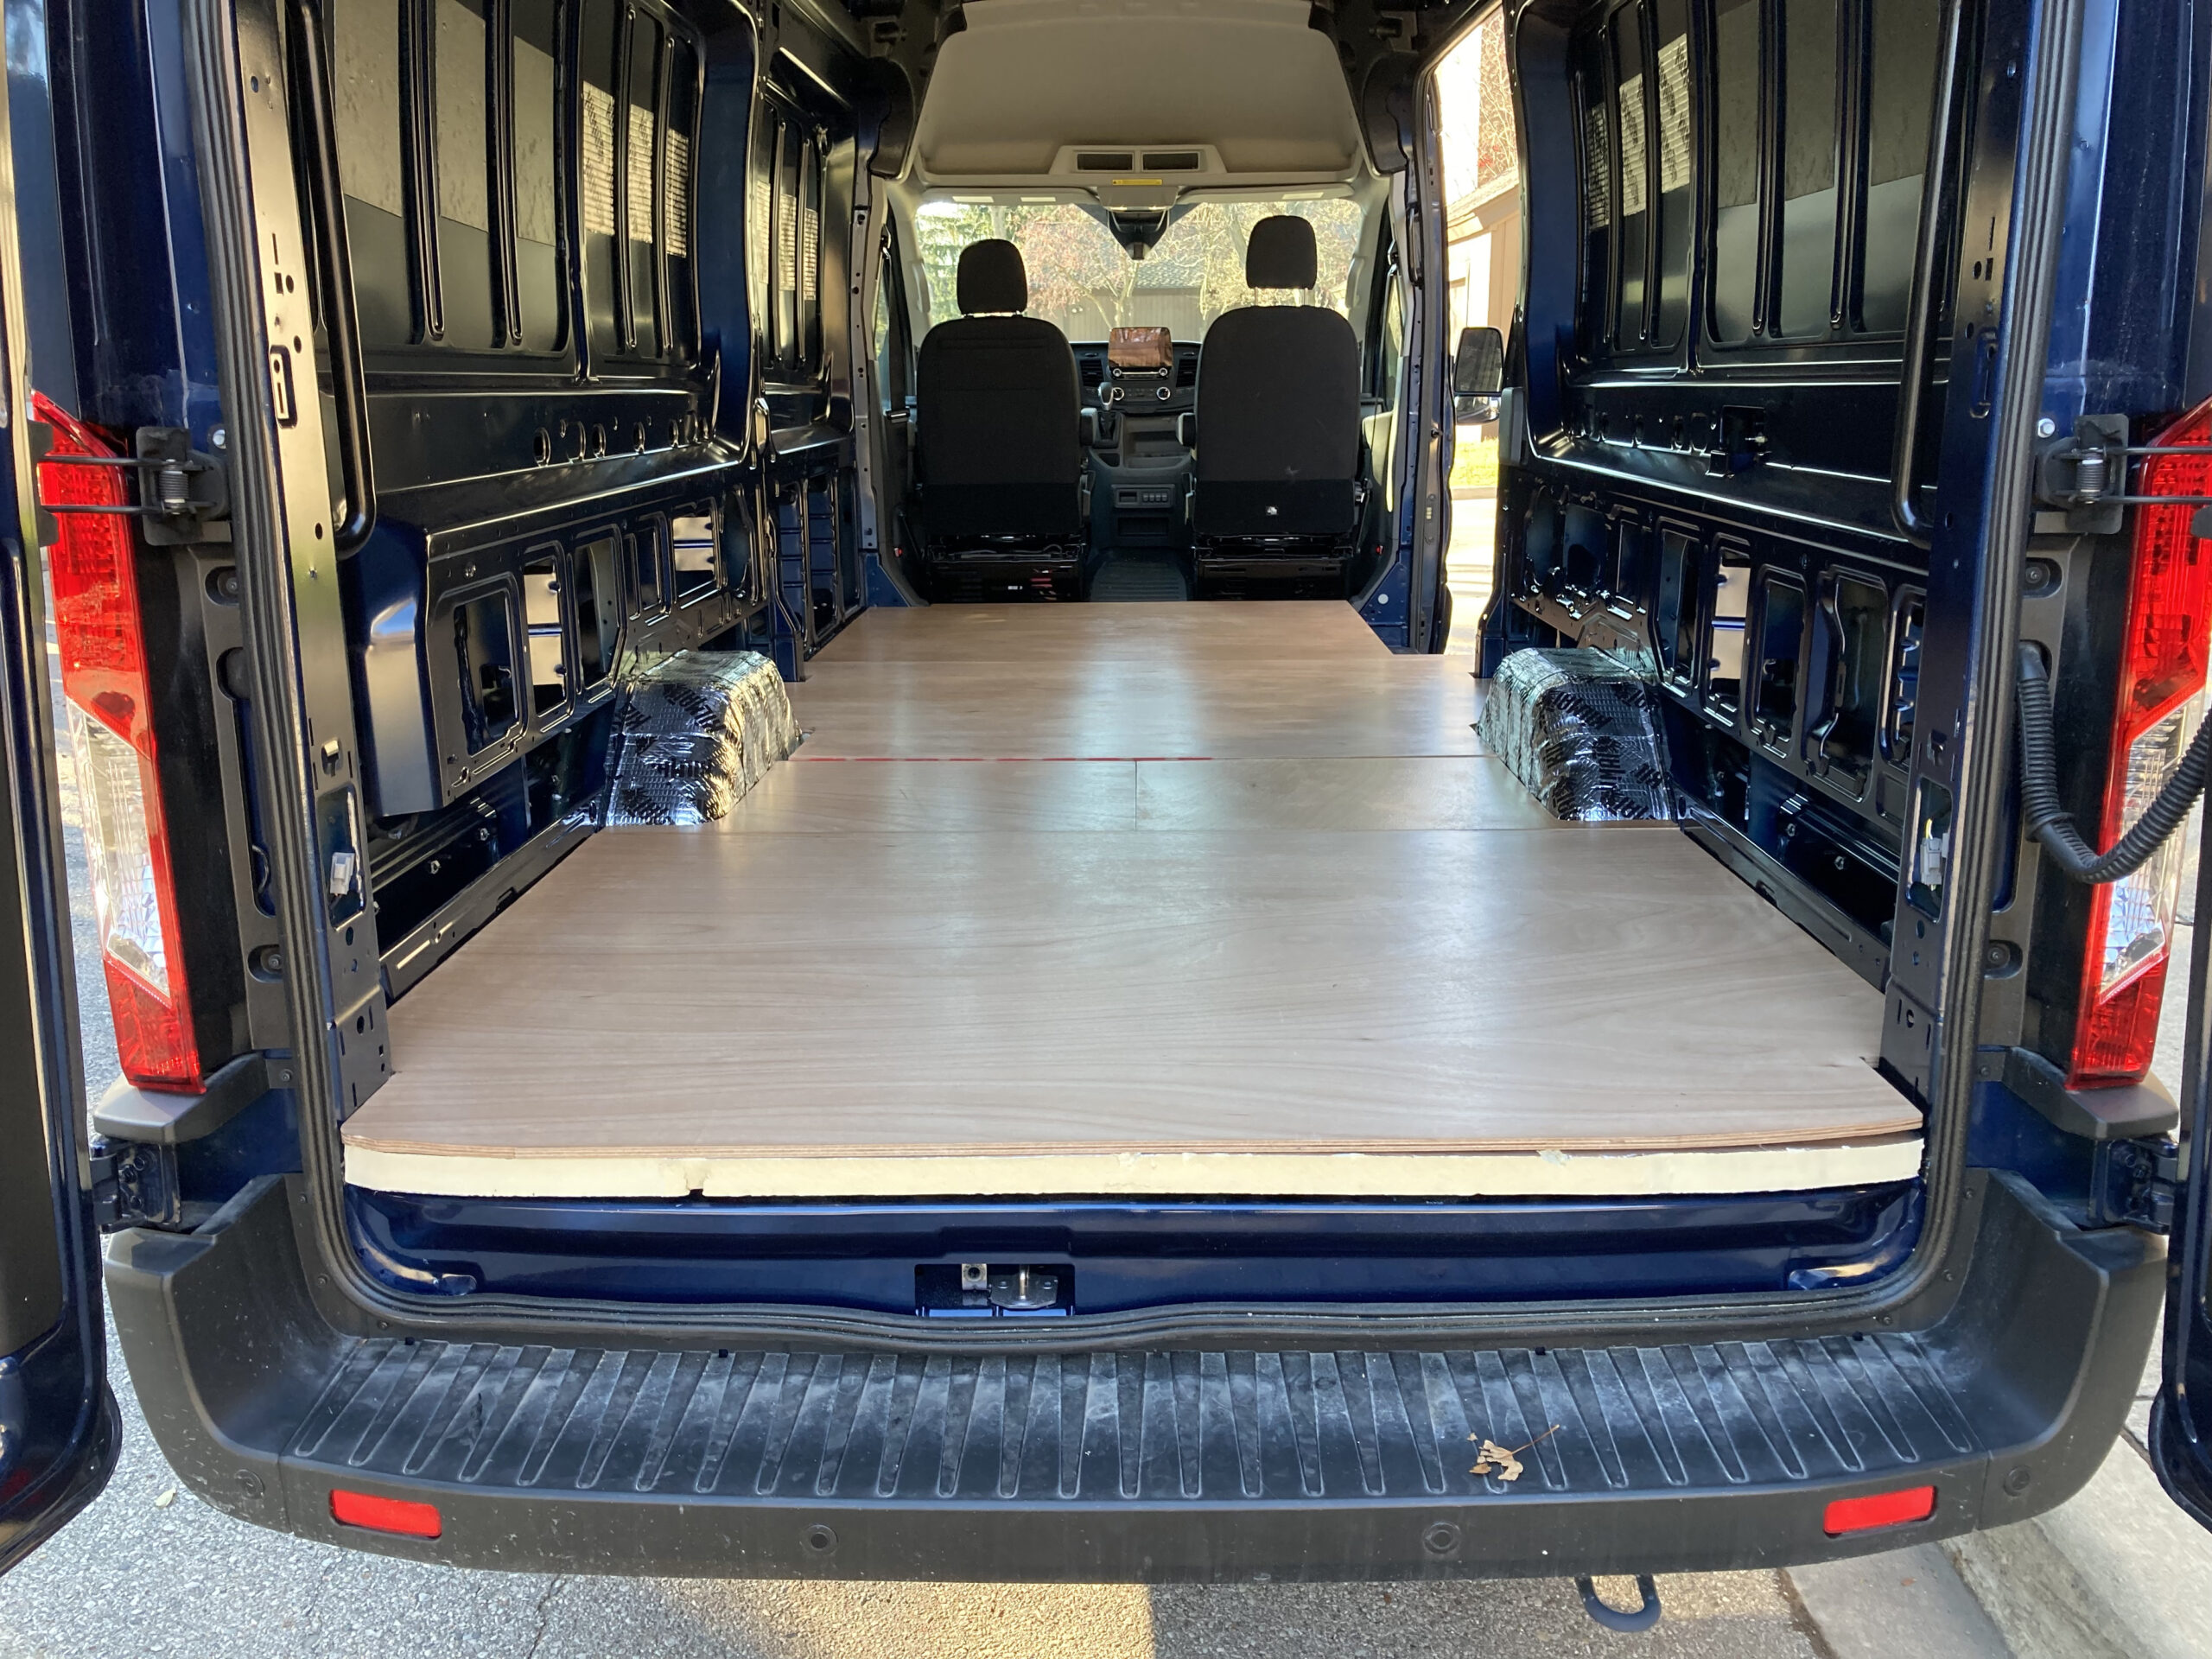
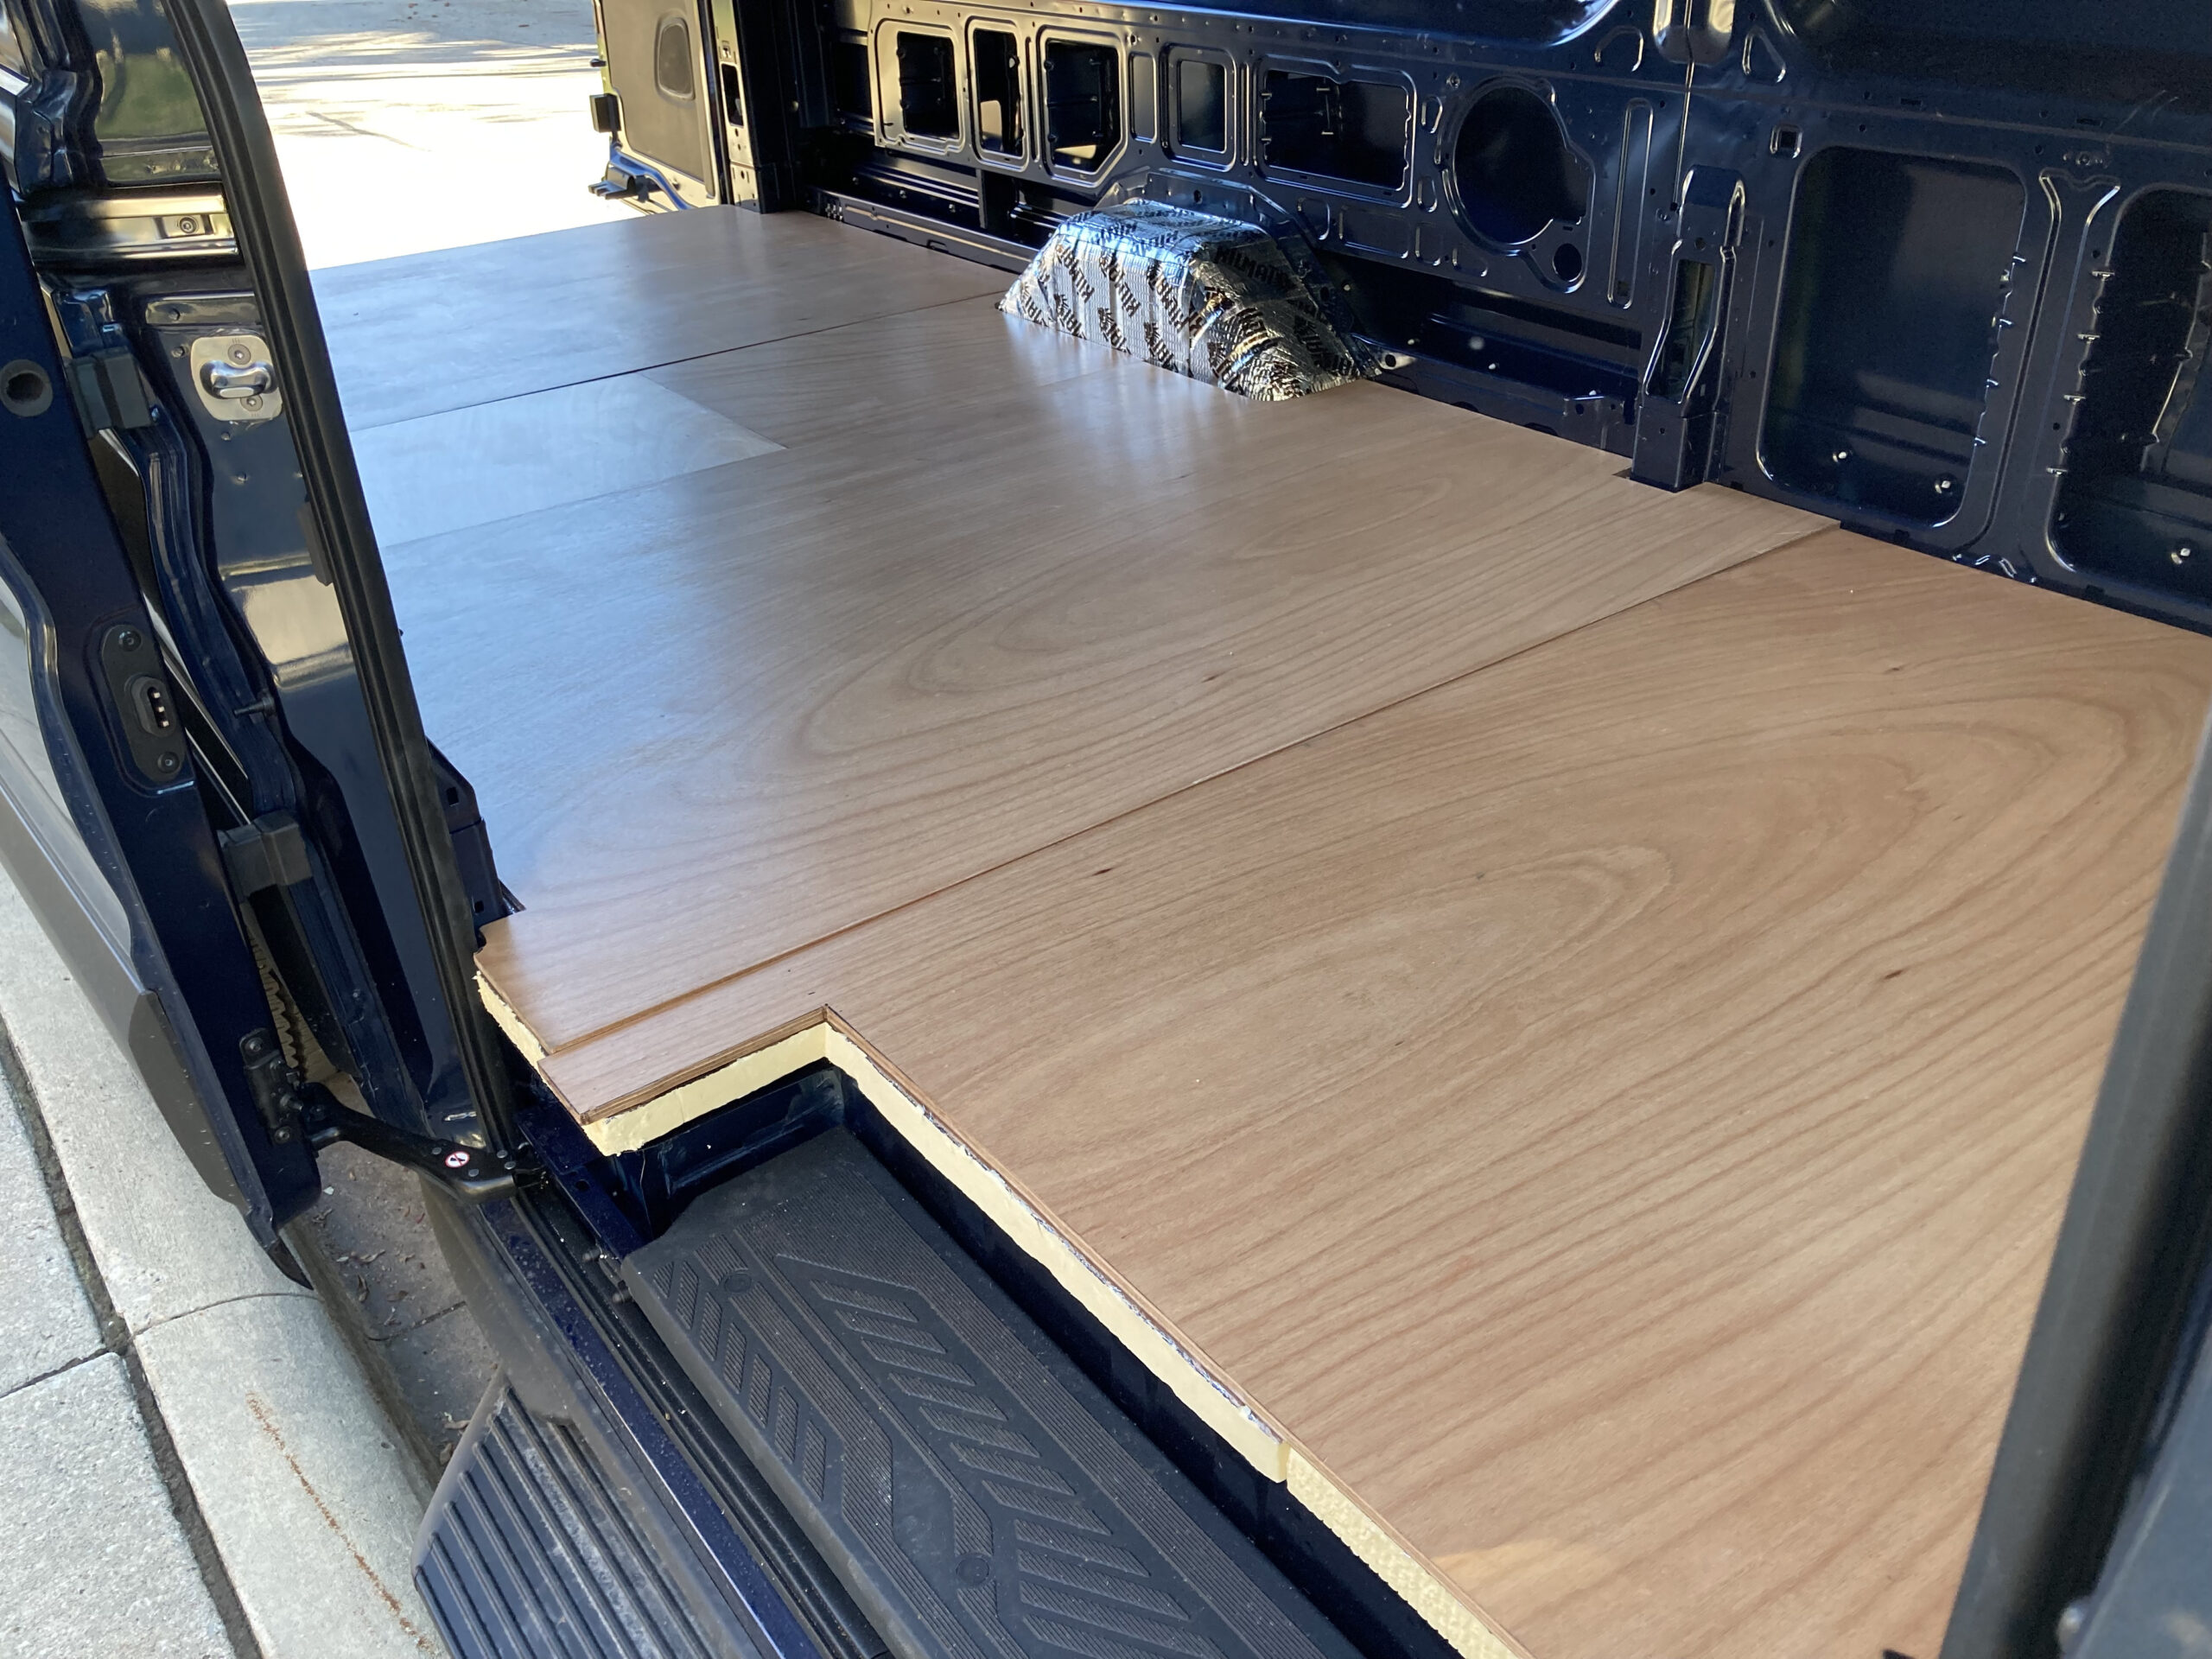
But before I could cut out the plywood sub-flooring, I got a line on the Thermax I’d wanted. So I used the XPS as a stiffer, easier-to-handle template, and used it to cut out both the Thermax and the plywood. Then I covered the plywood—front, back, and edges—with several coats of Polycrylic, to seal it against moisture, so it won’t warp or rot. And here we are.
Right now, the Thermax and plywood are just lying on the floor. It’s a pretty good fit, so they won’t move much, but there are a few more structural additions I’ll make before affixing it all securely (permanently!) to the van’s sheet metal. This has to wait until more of the design is finalized. I’ll discuss their motivations and ramifications then.

I love reading about this–just don’t want to do it!