
It’s still six weeks or so before the van’s scheduled arrival, and we’re both up to our elbows in planning. There are many examples on the web of people who have built camper vans, and have documented the process and results. It’s fairly typical for them to view and learn from their predecessors, who also posted their experiences. We are no exceptions to this rule.
The first build we found and got into is The Far Out Ride. Their base van is also a Transit, and they wanted to live in it full-time, traveling and chasing Winter sport. It’s decorated fairly rustic and funky, but the technical underpinnings are first-rate, and their site is extremely detailed, informative, and educational. We’ve learned a lot from studying it, and the builders are very helpful and responsive to inquiries.
There’s also the Ford Transit Forum, which covers all things related to Transits. One sub-forum, in the Tech section, is Camper Vans and Conversions. It’s populated by folk in all stages of creating a camper: some seasoned veterans who have done several, some who are in the midst of their first (or only) build, and some just looking on wistfully. There is a wealth of information here, and even more opinions. Everybody has expertise in one field or another, and they all manage to find a way to apply some of it to the task of building a camper.
My latest find in the on-line build-log department is The Humble Road. Its proprietor, a fellow named George, from northern New Jersey and about my vintage, is a real character. Most of his information is in video form (on YouTube, search for Humble Road), and is very well-produced. His builds are painstakingly thought-out and meticulously executed. His aesthetic sense is a bit high-end, polished, and professional for my tastes, but there’s so much that is just great. He’s a stickler for detail, a pleasure to watch and listen to, and has a very good philosophy: Design it so that when (not if!) it fails, it’s not catastrophic, and can be repaired or replaced without a huge amount of bother. He says he’s a belt-and-suspenders kind of guy.
I’m taking that approach to heart.
Our first significant purchase in the effort is the refrigerator. Elizabeth spent some time researching them, and figured out the features she wanted: upright, 6-8 cubic feet, tall and narrow, separate freezer section, preferably in a drawer below the main section. I weighed in on the technical side: both AC (120 volt) and DC (12 or 24 volt), possibly propane. [My family had a 23-foot Holiday Rambler travel trailer for many years, and its refrigerator ran on 120VAC or propane. It always amazed me how a flame could produce cooling, but it worked.] There are many examples that met our requirements, in the 1300-2000 dollar range. Gulp.
Then E found an interesting site for a company, National RV Refrigeration, that sells, services, and refurbishes RV refrigerators and AC units. They have a scratch-and-dent section, with prices very much lower. Some met our specs, for only 5-600 bucks. Woohoo. I talked with Glen there (friendly, helpful, informative) and E and I arranged to drive to Shipshewana, IN (about two hours away) to pick one up. Then I downloaded the installation instructions from the manufacturer.
Most household refrigerators cool by compression. It basically squeezes the heat out of a chlorofluorocarbon gas (eg. Freon), cooling it in the process, which then cools the box. Simple enough. Another way to do it is by absorption. It’s somewhat more involved, using evaporation cooling and two different coolants, and is more complex than I want to go into here. Try Wikipedia if you’re interested.
Anyway, that’s how a refrigerator can run on propane. But there’s more to it than just plugging it in to a power source. The propane needs air to burn, and a path to the outside air for its exhaust. We don’t want to use the air in the van to support the combustion, as it may already be heated, and the air coming in from outside will need to be heated as well. Not very efficient. The upshot is that installing a propane-burning refrigerator requires cutting large holes in the van, one in the side, one in the roof. We’re talking 9 inches by two feet. Yikes. Cutting a hole in the roof for an exhaust fan is one thing, but I’m not eager to cut more large holes just for the refrigerator, particularly when other alternatives exist.
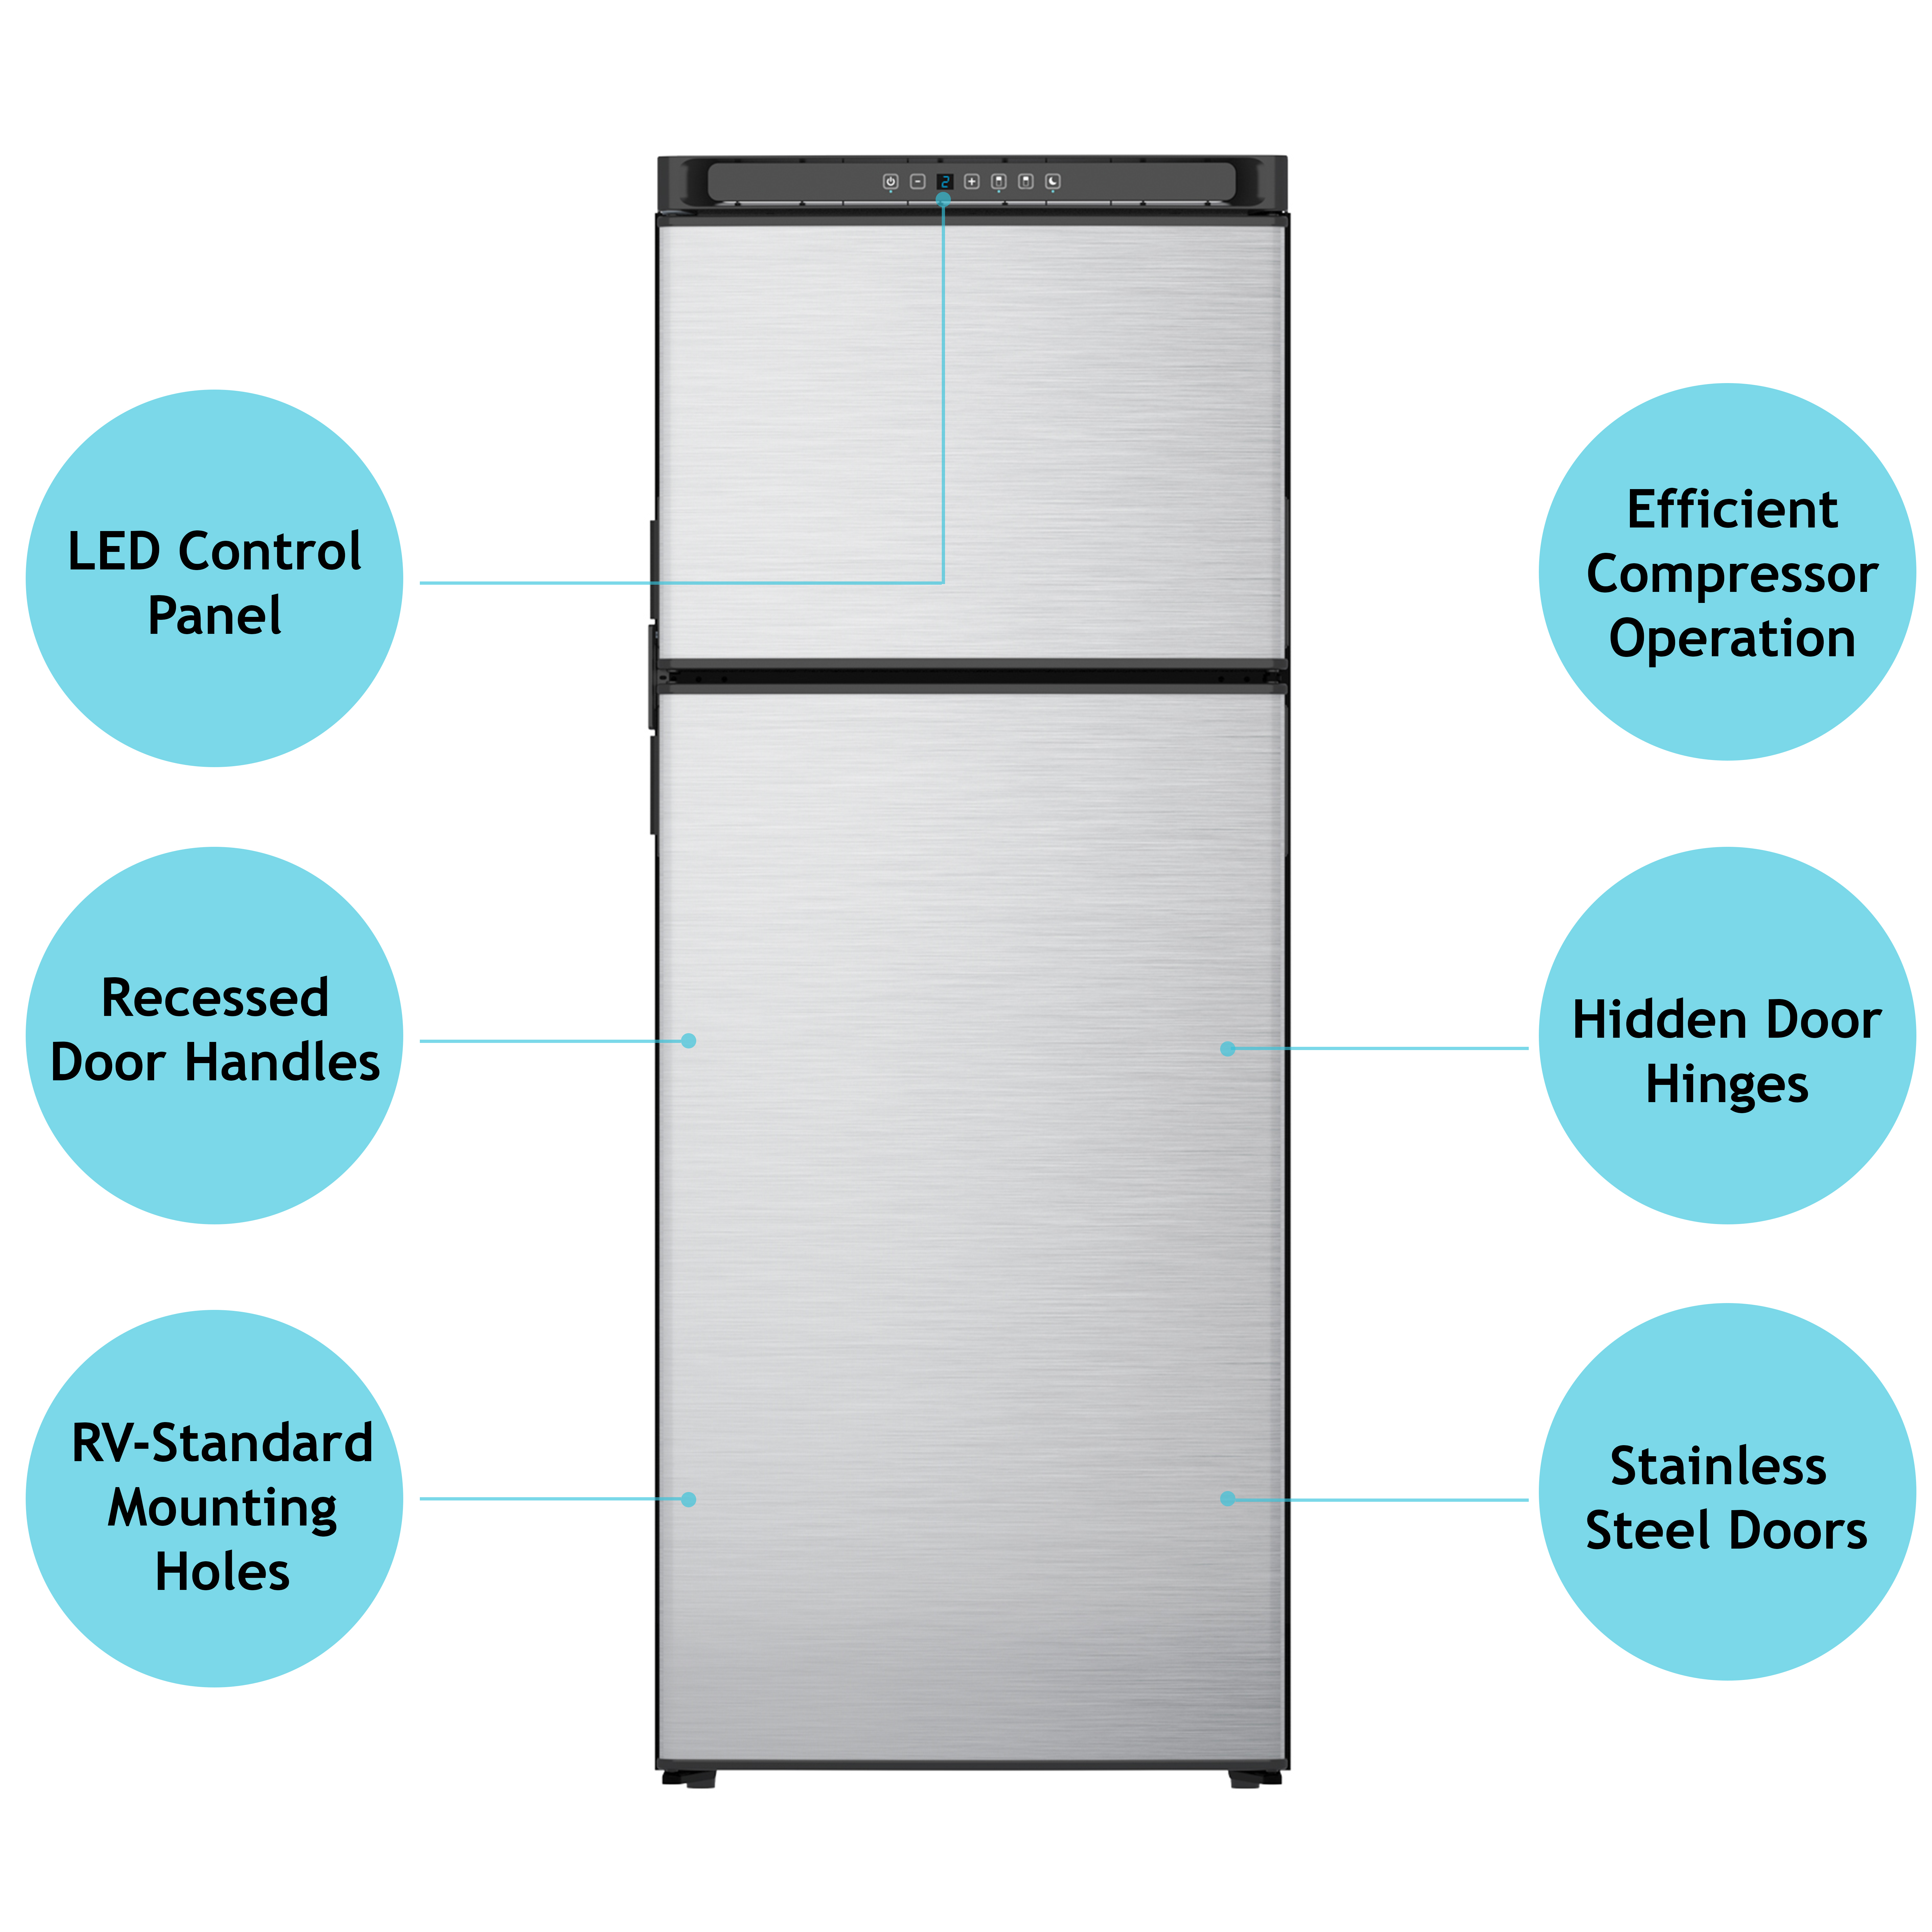
Another call to Glen revealed that they did indeed have a couple of electric-only models, and he gave me the specs. We drove down last Monday (nice drive) to take a look. The model we got is a Norcold N10DC. Eight cubic feet, 23 inches wide, stainless-steel front, fridge below, freezer above, both with doors. It’s tall and skinny and runs on 12VDC. No AC, no propane. Definitely scratched and dented, but the inside is new and pristine, and it works fine. $250. Even more woohoo. Doesn’t match our specs exactly, but it’s close, and we can’t beat the price.
We got it home and it’s now in the garage of one of E’s friends, awaiting the day when we actually have a van and can install it.

Pingback: Heating Up | Wandering Homestead